San Angelo Local Flooring Pro
Ultimate Guide to Repairs to Hardwood Floors: Fixing Up with Ease
Struggling with scratches or a persistent squeak in your hardwood floors? Don’t despair. This guide will help you determine when a quick DIY fix is sufficient and when professional repairs to hardwood floors are necessary – without overwhelming you with unnecessary details.
Key Takeaways
Hardwood floor damage types, such as cupping, crowning, buckling, and noise, can usually be repaired to look new and are often caused by climate changes, moisture issues, water damage, or improper installation.
DIY hardwood floor repair requires specific tools and materials, such as safety gear, sandpaper, wood filler, and stain markers, with Loba and Bona being recommended brands for wood fillers and stain markers respectively.
Professional intervention is recommended for severe hardwood floor damage, such as warped boards, extensive water damage, or structural issues, as this damage is beyond the scope of DIY repair.
Understanding Hardwood Floor Damage
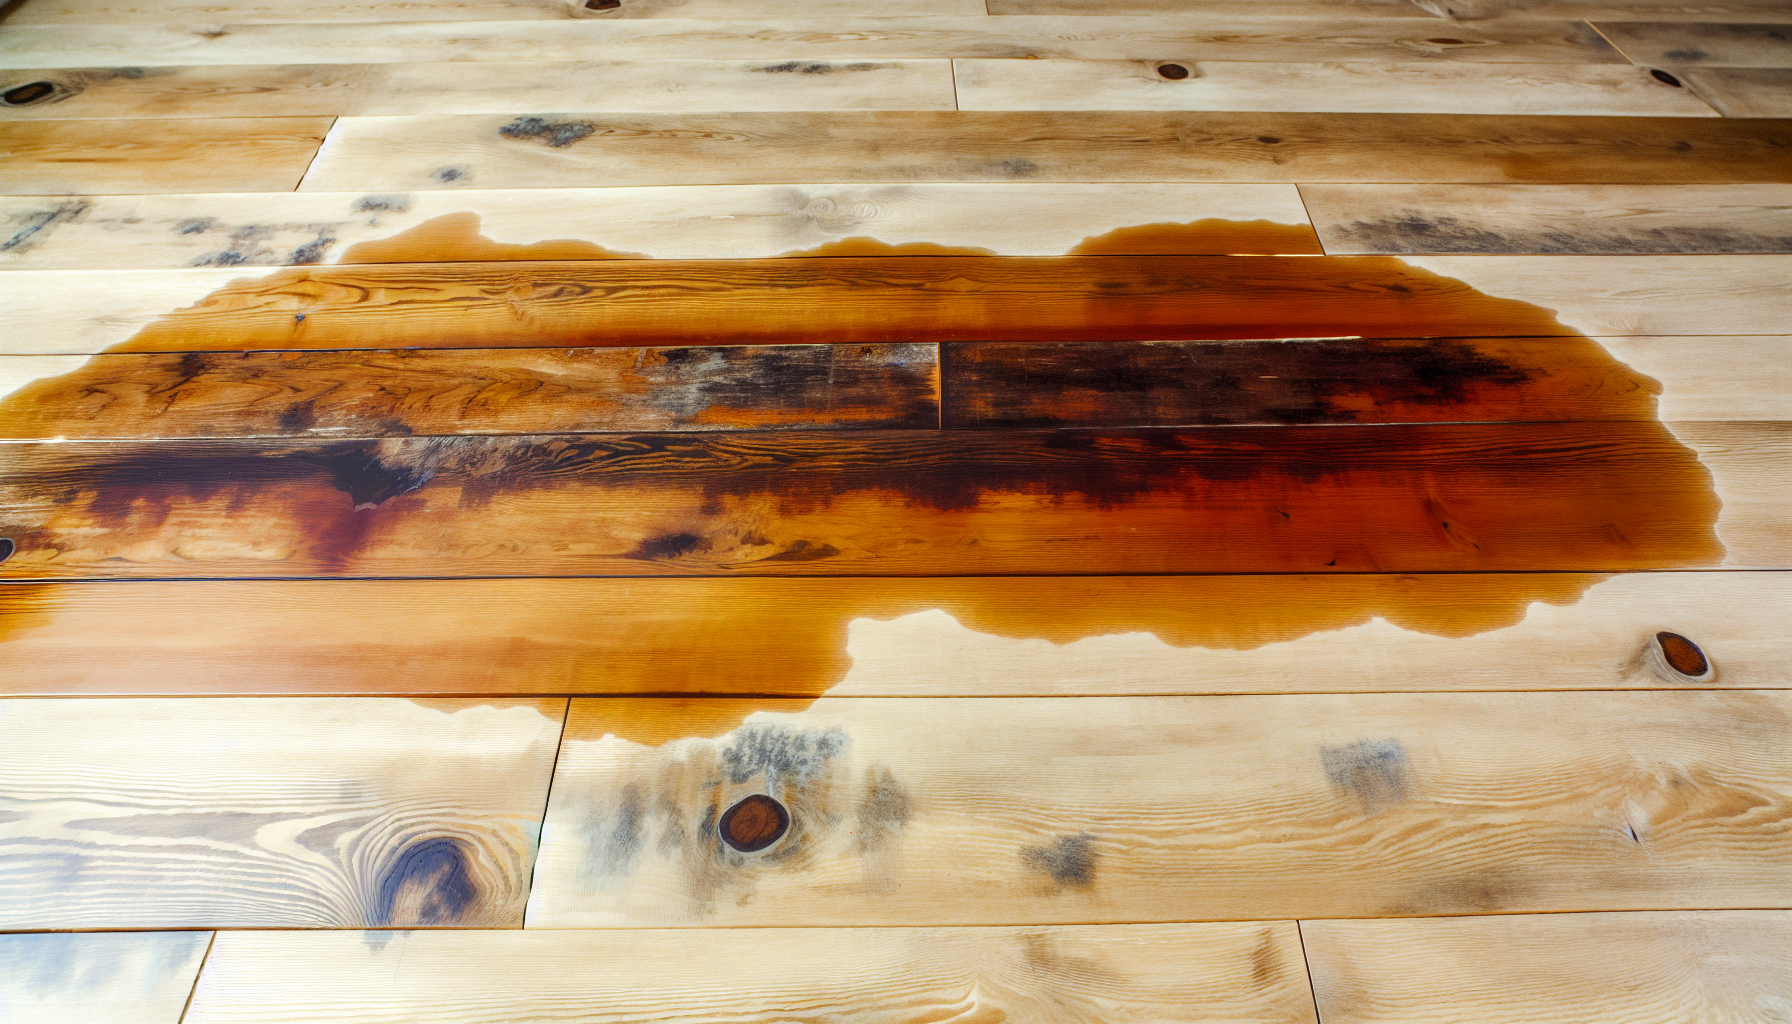
From the subtle signs of sun fading to more noticeable gaps between boards, various types of damage can affect hardwood floors. The damage can be caused by changes in climate, improper moisture content of the wood, water damage, or improper installation. Typical indicators of compromised wood flooring include cupping, crowning, buckling, and unusual noise. Without proper maintenance, these damages can affect both the longevity and appearance of your hardwood floors.
However, despair not! Most damage can be restored to a like-new condition through proper hardwood floor repair techniques. The initial step towards effective repair and maintenance of your hardwood floors involves comprehending the type and extent of the damage.
Essential Tools for DIY Hardwood Floor Repair
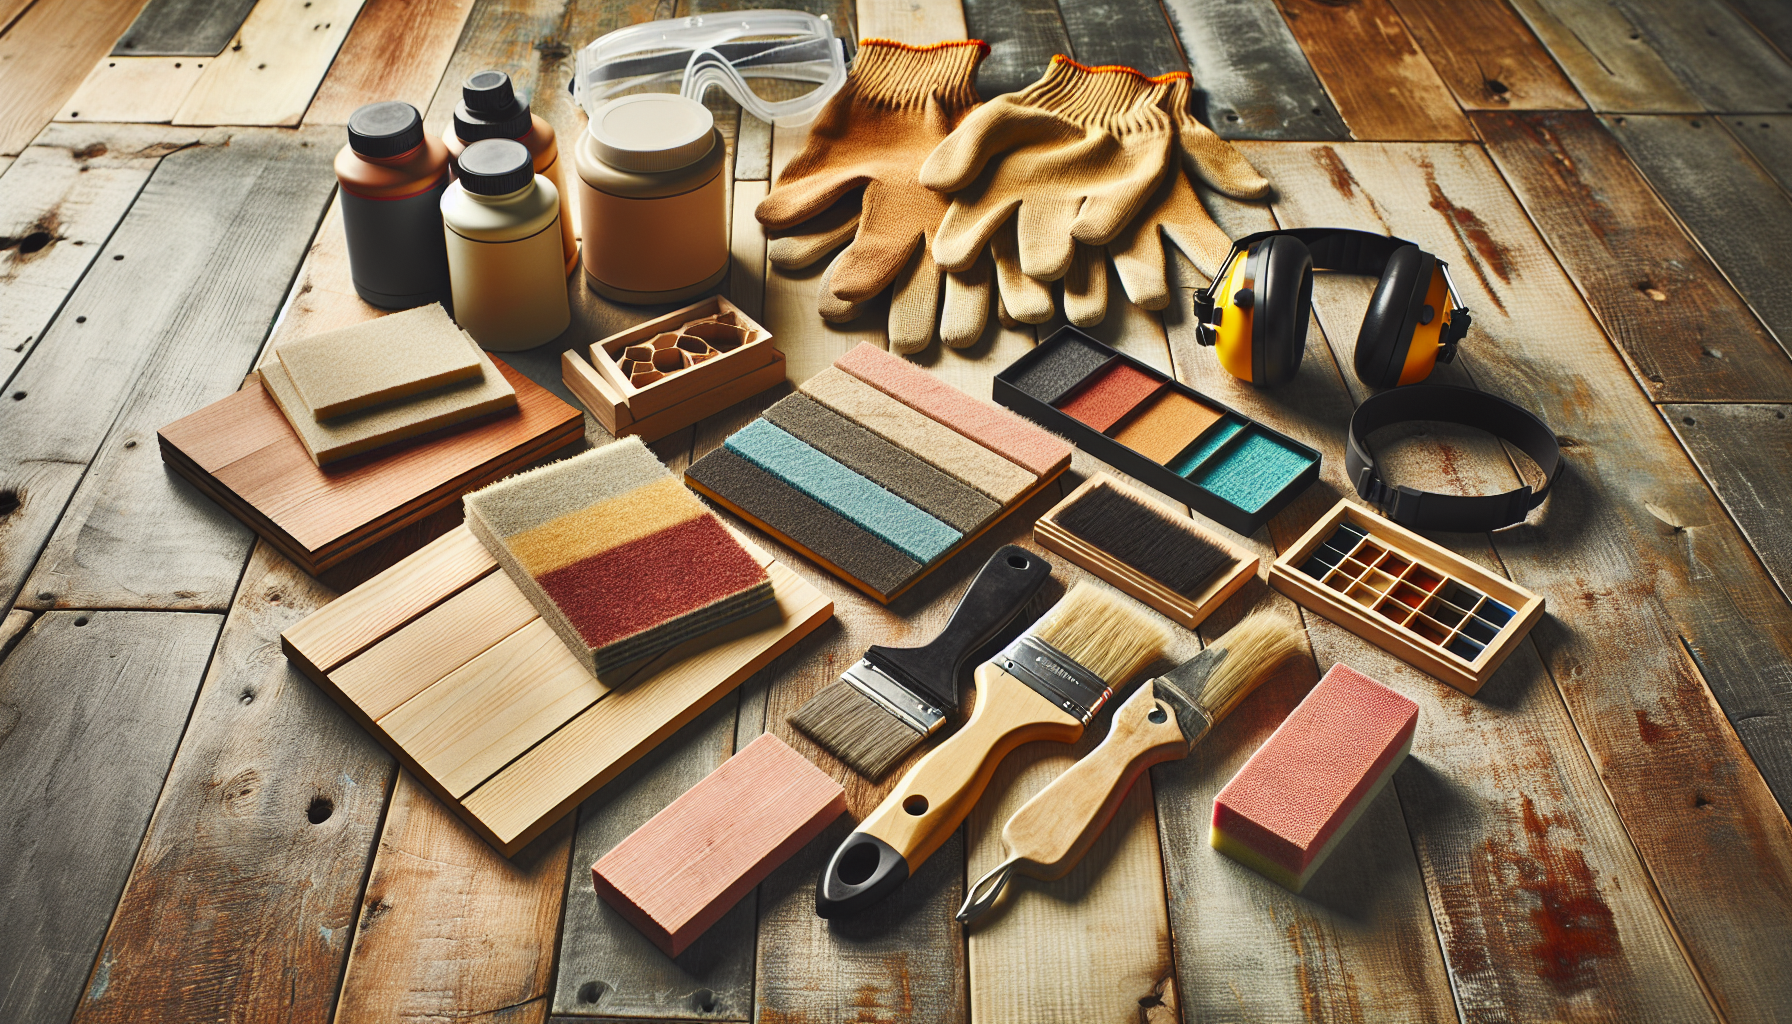
Assembling all necessary tools is a vital step before commencing your hardwood floor repair project. Just like a skilled carpenter, having the right tools at your disposal can make all the difference. Your DIY tool kit should include:
Safety goggles
A mask
Knee pads
Appropriate footwear
Gloves
Ear protection
These items will ensure your safety while working on the top layer of the flooring.
Additionally, you’ll need sandpaper for sanding the floor, wood filler for filling gaps, and stain markers for camouflaging scratches. Brands like Loba and Bona are recommended for wood filler and stain markers respectively. Having these essential tools at your disposal brings you a step closer to the rejuvenation of your hardwood floors.
Step-by-Step Guide to Fixing Scratches on Wood Floors
Though addressing scratches on your hardwood floor might appear challenging, don’t be discouraged. With a few simple steps, you can restore your floors to their former glory. Whether it’s a minor scratch or a deeper gouge, there are solutions tailored to address each issue.
Subtle Scratch Camouflage
Household items can serve as effective solutions to camouflage minor scratches on your hardwood floor. Yes, that’s right, items as simple as coconut oil and walnuts can be effective remedies for concealing minor scratches. The natural emollients and color of walnuts can disguise blemishes when rubbed over the affected area multiple times.
Another handy remedy is a mixture of olive oil and baking soda. When applied to shallow scratches, this mixture can help buff out the scratches and create a protective seal. While these methods won’t completely remove the scratches, they will conceal and prevent further damage, saving you time and money on more extensive repairs.
Dealing with Deeper Gouges
Addressing deeper gouges necessitates a more extensive repair process. This involves applying wood filler into the gouge using a putty knife and allowing it to dry. Brands like Loba and Bona offer wood fillers that adhere securely to the wood surface and effectively fill the gaps.
After the filler has dried, proceed to sand the area until it aligns smoothly with the floor’s surface. Water-based wood filler should be allowed to dry for at least 30 minutes before sanding. With the right technique, you can successfully mend deeper gouges and restore the beauty of your hardwood floor.
Strategies for Mending Cracks and Splits in Hardwood
A more tactical approach is needed to handle cracks and splits in your hardwood floor. The application of epoxy and filler plays a key role in this repair process. Epoxy fills the crack and forms a durable bond, providing stability to the area. Brands like Loba and Tan Bona Wood Repair Putty Filler are recommended for this task.
After filling the cracks or splits, the area should be sanded until it’s smooth and flush with the floor’s surface. Then, cleaning, staining, and applying an appropriate finish should follow to ensure the repaired area blends seamlessly with the rest of the flooring. This process not only mends the damage but also revitalizes the overall appearance of your hardwood floor.
How to Silence Squeaky Hardwood Boards
There’s nothing more annoying than a squeaky hardwood floor. The squeak can result from a variety of factors including:
Seasonal temperature and humidity fluctuations
Loosened hardware
Uneven subflooring
Friction
Fortunately, the task of silencing these squeaky boards is quite manageable. Here are some solutions that can effectively eliminate the squeaking noise:
Using carpenter’s glue and wood shims
Stabilizing warped joists
Installing wood blocks between joists
Using screws to secure the subfloor
Now, you can walk freely on your hardwood floor without that pesky squeak!
The Art of Refinishing and Recoating Hardwood Floors
The process of refinishing and recoating your hardwood floors involves several steps:
Prepping the room
Addressing any damage through patching and repairs
Sanding the floor
Buffing the floor
Preparing for sealer or stain
Applying the sealer or stain
This process requires careful planning and execution, and can be likened to an art.
This process, while time-consuming, can restore the original beauty and shine of your hardwood floors. It typically takes between 2-6 days, depending on the size of the room and the level of damage. With the right materials, such as wood oils, a floor sander, and stain, you can effectively refinish and recoat your hardwood floors.
When to Call in the Professionals
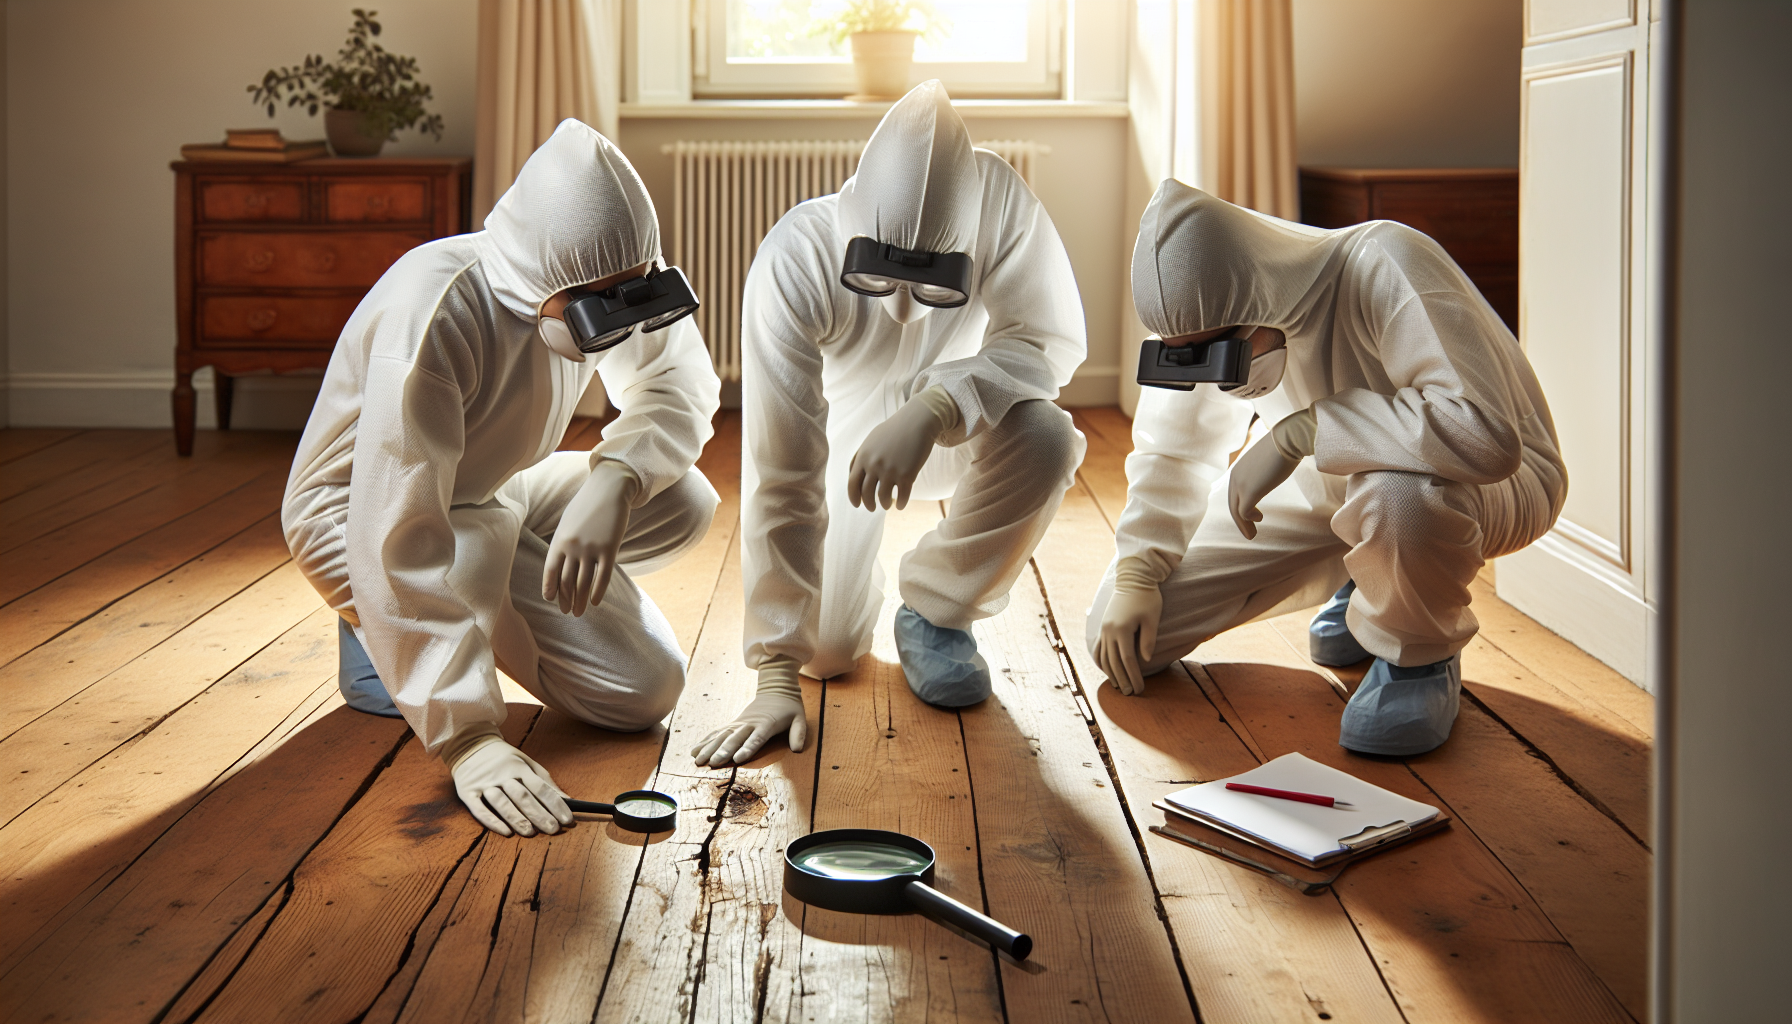
Although DIY hardwood floor repair can be fulfilling, certain scenarios necessitate seeking professional help. Signs of severe damage such as warped boards, extensive water damage, or damage from house settling are best left to professionals.
Structural issues like subfloor damage or complex repairs such as seamlessly integrating new and old flooring or addressing significant unevenness in the floor also require professional expertise. It’s always better to err on the side of caution and seek professional help when in doubt.
Maintaining Your Repaired Hardwood Floors
Regular maintenance is key to preserving the longevity and beauty of your repaired hardwood floors. Simple measures like minimizing foot traffic, avoiding excessive use of water when cleaning, and promptly removing any standing water can prevent further wear and tear on your hardwood floors.
In addition, it’s advisable to clean your floors once a month using recommended cleaning products such as Bona Hardwood Floor Cleaner Spray, Murphy Concentrated Wood Cleaner, and Aunt Fannie’s Hardwood Floor Cleaner. With these preventive measures, you can maintain and protect your hardwood floors, keeping them looking new for years to come.
Local Resources for Hardwood Floor Repair Supplies and Services
A multitude of local resources are at your disposal, whether you’re undertaking a DIY project or seeking professional help. Retailers like:
Craftsman Hardwood floors
Ballin Knows Best
Loba Flooring Centers
Local flooring specialists
We offer a wide range of supplies to repair hardwood floors, ensuring quality hardwood floor repair for your wood floor.
In case you need professional help, contractors listed on platforms like Angi, companies like Footprints Floors, or services like Mr. Handyman can provide home visits, hardwood floor assessments, and repair services. No matter what your hardwood floor repair needs are, there’s a local resource ready to assist you.
Summary
In conclusion, DIY hardwood floor repair is a manageable and rewarding endeavor that can breathe new life into your floors. With the right knowledge, tools, and resources, you can address a range of issues from minor scratches to deep gouges, cracks, and squeaks. Remember, regular maintenance can prolong the life of your hardwood floors, and when in doubt, don’t hesitate to call in professionals.
Frequently Asked Questions
How do you fix damaged hardwood floors?
To fix damaged hardwood floors, use wood filler to mend scratches or dents, then sand and apply a finish for a smooth surface.
Is it cheaper to repair or replace hardwood floors?
It is usually cheaper to refinish hardwood floors rather than replacing them, as replacement involves extra costs for wood, installation, and labor for removing the existing hardwood. Therefore, refinishing is a more cost-effective option.
How do you repair hardwood floors without refinishing?
You can repair hardwood floors without refinishing by buffing, which removes slight scratches and materials that might dull wood floors. This process works similarly to refinishing but doesn't involve removing a layer of wood.
What are the common signs of hardwood floor damage?
Look out for signs of sun fading, wear and tear, stains, finish peeling, gaps between boards, cupping, crowning, cracks, and buckling on your hardwood floors to detect damage early on.
What tools are essential for DIY hardwood floor repair?
Essential tools for DIY hardwood floor repair include safety goggles, a mask, knee pads, appropriate footwear, gloves, ear protection, sandpaper, wood filler, and stain markers. These tools will help you complete the repair job safely and effectively.
