
Hardwood Flooring Installation in San Angelo, TX
Installing hardwood flooring is a remarkable endeavor that can significantly elevate the charm and worth of any residence. Besides their visual allure, hardwood floors provide many advantages, including resilience, durability, and effortless upkeep. Yet, attaining these perks relies heavily on executing the installation process precisely.
Discover the Craftsman Hardwood Flooring Difference in San Angelo, Texas
Pre-Installation Preparation
Before diving into the hardwood flooring installation process, thorough pre-installation preparation is essential. This phase sets the stage
for a successful and long-lasting result. Here are some crucial steps to consider:
Measurement and Planning:
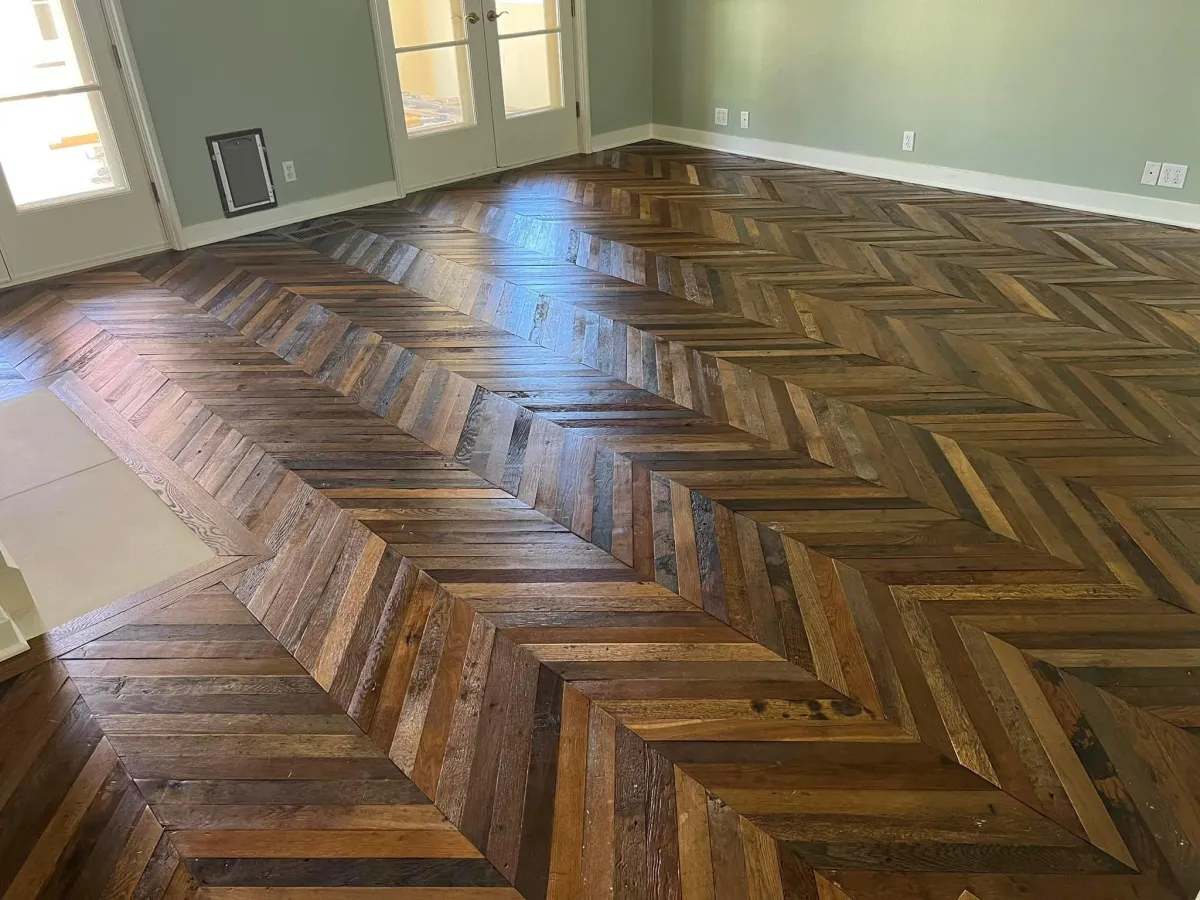
This includes calculating the square footage and noting any irregularities in the space. Planning for layout patterns is also crucial, ensuring a visually appealing result. Consider plank orientation, room transitions, and focal points within the space.
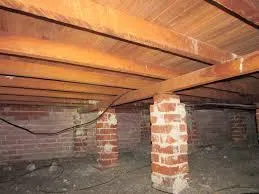
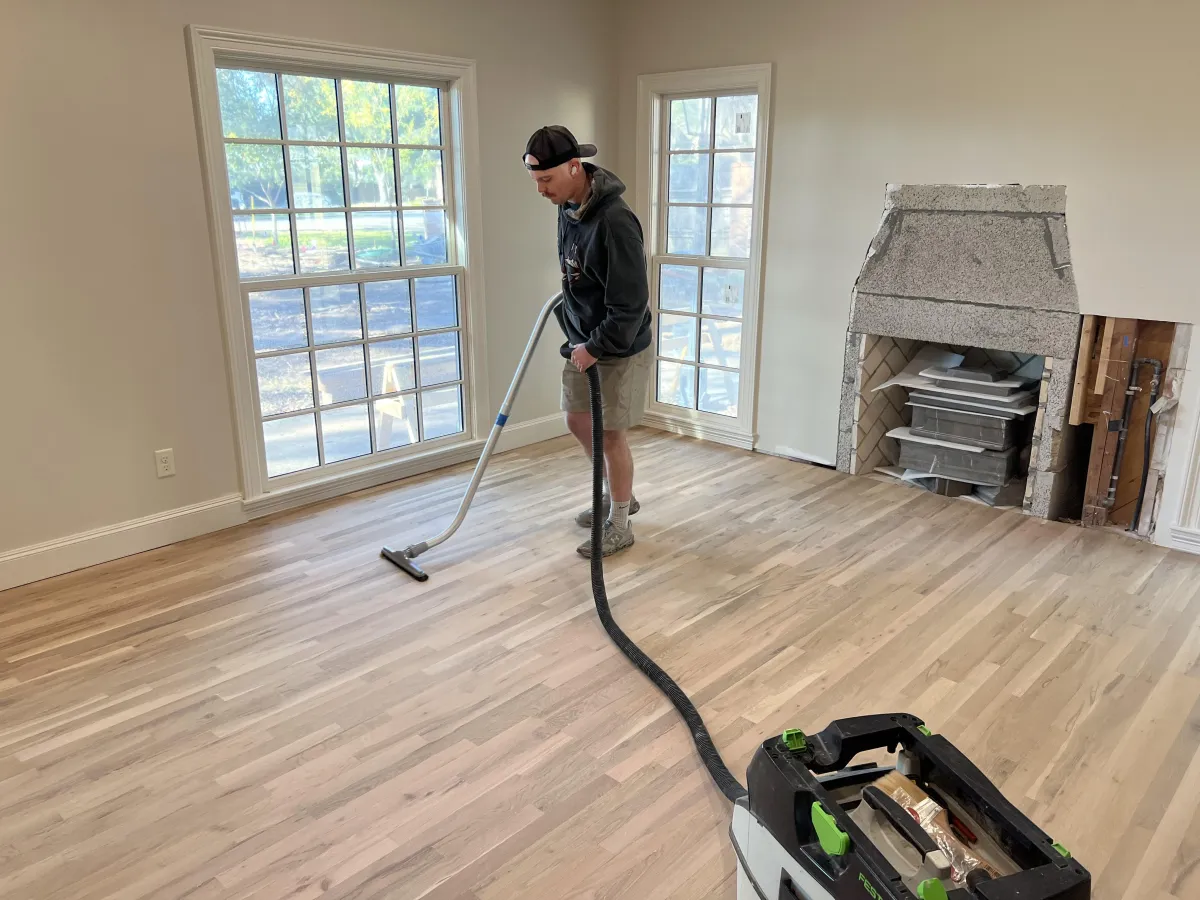
Subfloor Inspection:
The subfloor condition plays a significant role in the durability and longevity of your hardwood floors. Before installation, thoroughly inspect the subfloor to ensure it is clean, level, and free from structural issues. Addressing any problems at this stage will prevent future complications and ensure a smooth installation process.
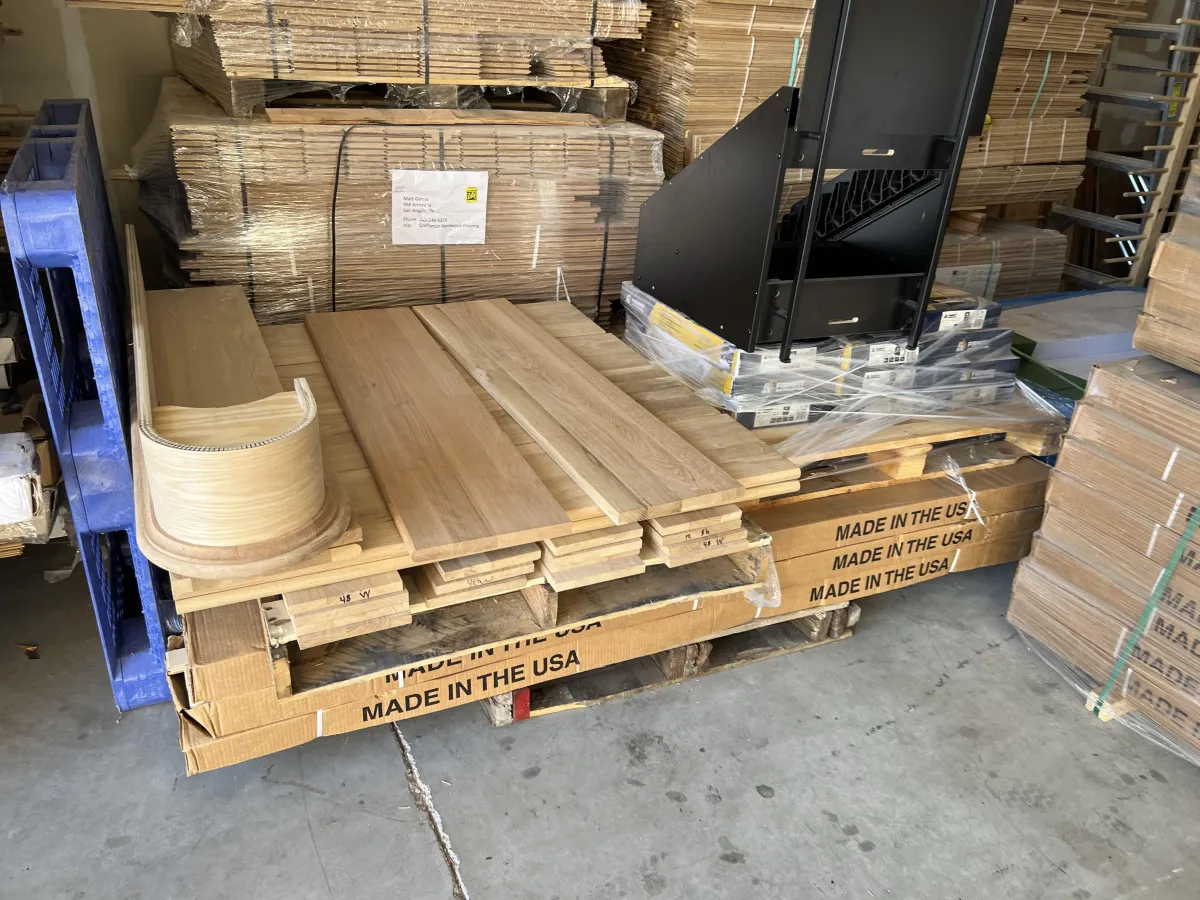
Acclimation:
Allow the hardwood planks to acclimate to the room's humidity and temperature before installation. This step is vital for preventing issues like warping or shrinking after installation. Place the planks in the room where they will be installed and let them sit for at least 48 hours, allowing them to adjust to the environment.
INSTALLATION TECHNIQUES
Regarding hardwood flooring installation, various methods can be employed to achieve a flawless finish. Each installation technique has its own steps and requirements to ensure optimal results. Let's delve into the specifics of each method:
A. Nail Down Installation
Nail-down installation is a traditional method that involves securing hardwood planks directly to the subfloor using nails. Here's what you need to know:
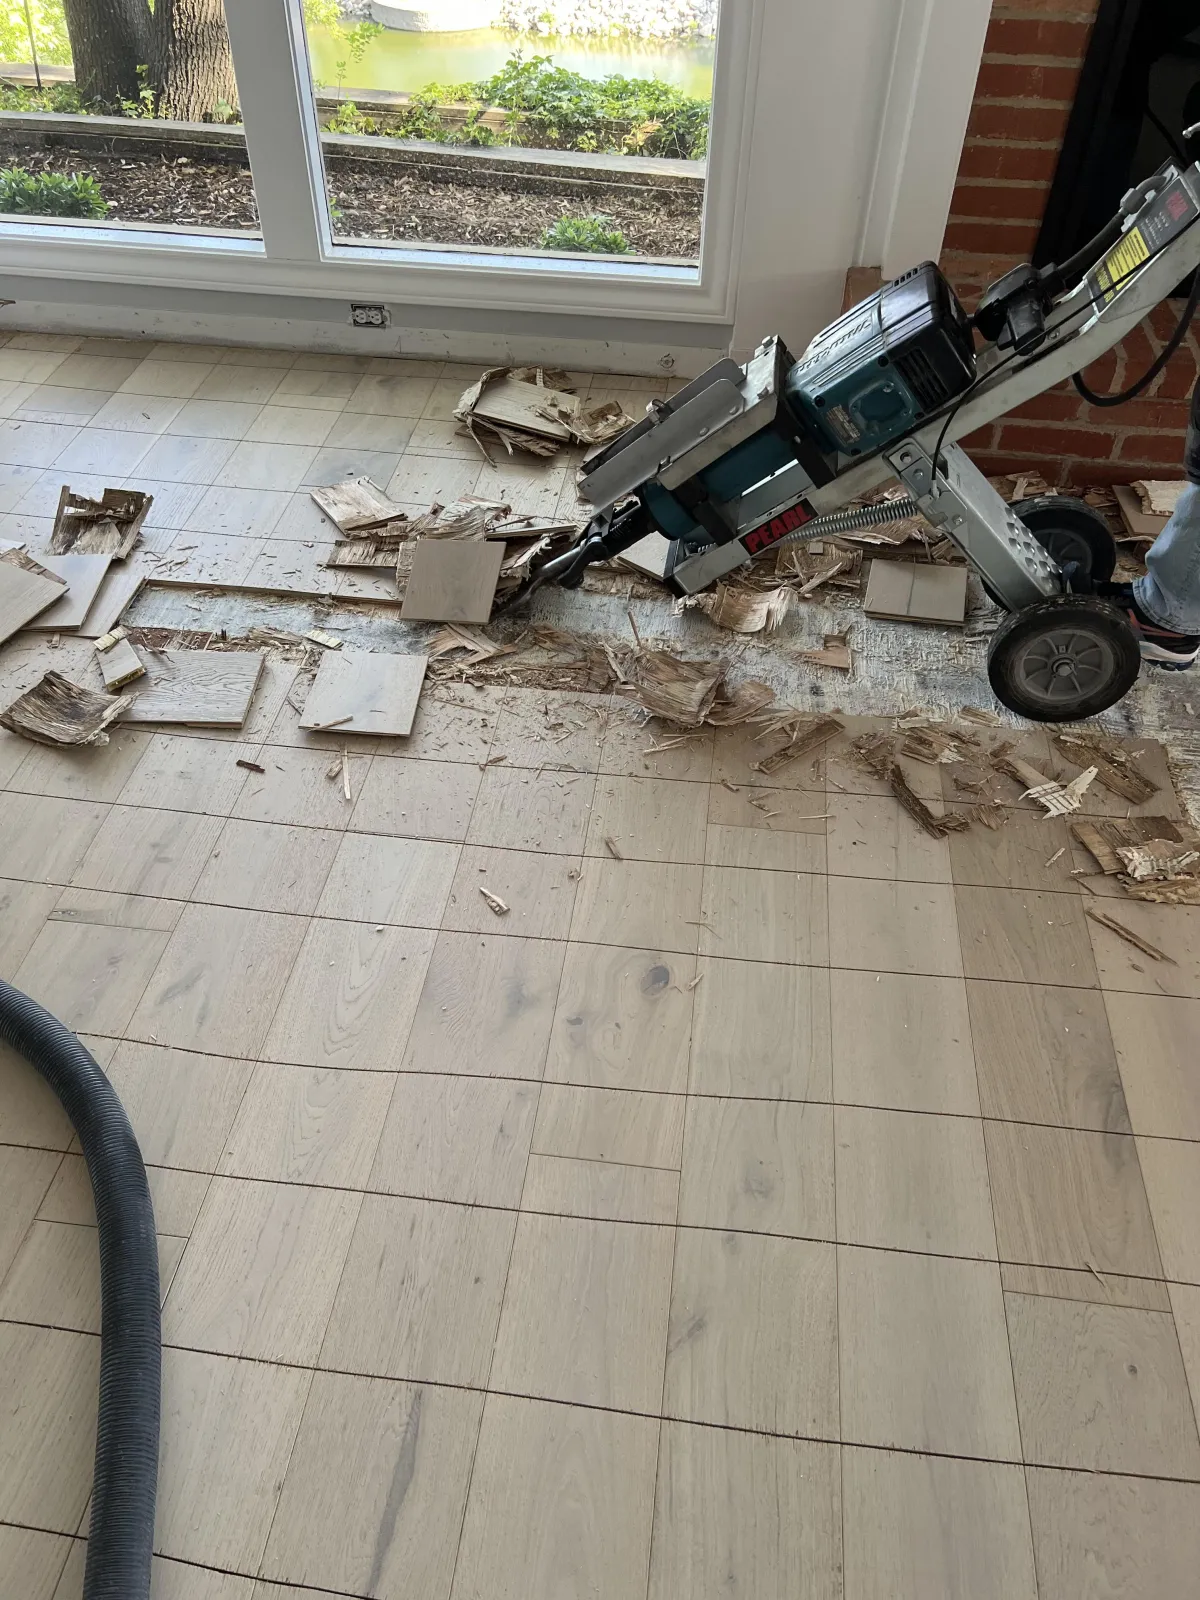
Preparation: Before beginning the installation process, it's crucial to ensure that the subfloor is prepped correctly and free from any debris or imperfections that could affect the integrity of the installation.Nail Placement: Hardwood planks are securely fastened to the subfloor using a nail gun, ensuring proper spacing between boards for expansion and contraction. This step requires precision to maintain alignment and prevent buckling.
Finishing: Once all planks are in place, nail holes are filled with wood filler and sanded down to create a smooth surface. This prepares the floor for the application of finish, enhancing its durability and aesthetic appeal.
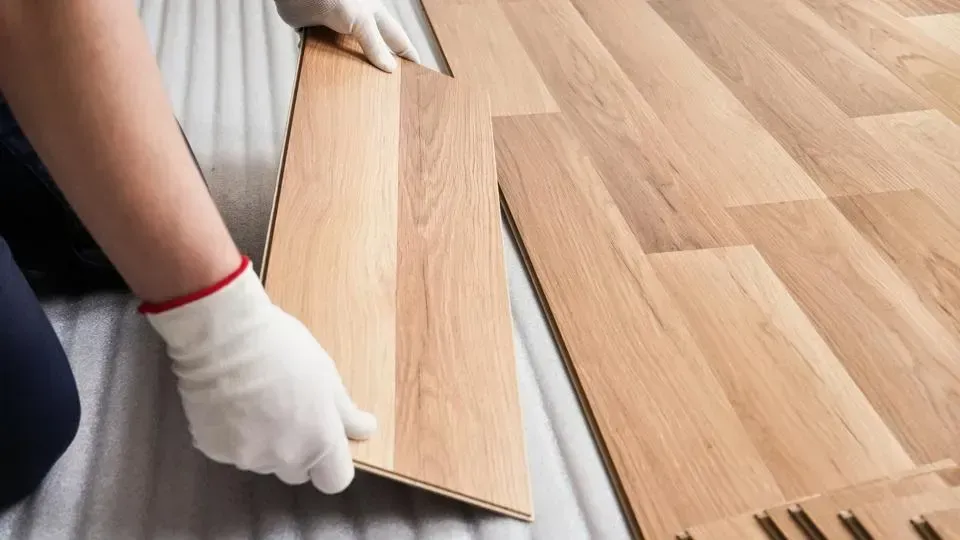
B. Floating Floor Installation
Floating floor installation is a versatile method that allows hardwood planks to be installed over various types of subfloors without the need for adhesives or nails. Here's how it's done:
Underlayment Installation: An underlayment is laid over the subfloor to provide cushioning and moisture protection, ensuring a comfortable and long-lasting floor.
Click-and-Lock Mechanism: Hardwood planks are equipped with a click-and-lock mechanism, interlocking them seamlessly without needing nails or glue. This makes installation quick and straightforward.
Trimming: As the planks are installed, they may need to be trimmed to fit around edges and obstacles using appropriate tools such as a saw or jigsaw. This ensures a precise fit and a polished appearance.
C. Glue Down Installation
Glue-down installation involves adhering hardwood planks directly to the subfloor using adhesive. Here's what you should know:
Adhesive Application: Adhesive is spread evenly onto the subfloor using a trowel, ensuring full coverage and a strong bond between the planks and the subfloor.
Plank Placement: Hardwood planks are pressed firmly into the adhesive, ensuring they are correctly aligned and securely bonded to the subfloor. This step requires careful attention to detail to prevent any gaps or unevenness.
Cleanup: Any excess adhesive is wiped off immediately to prevent it from drying and marrying the floor's surface. Proper drying time is essential before walking on the floor to avoid disrupting the adhesive bond.
Finishing Touches
Here's a breakdown of the essential steps involved:
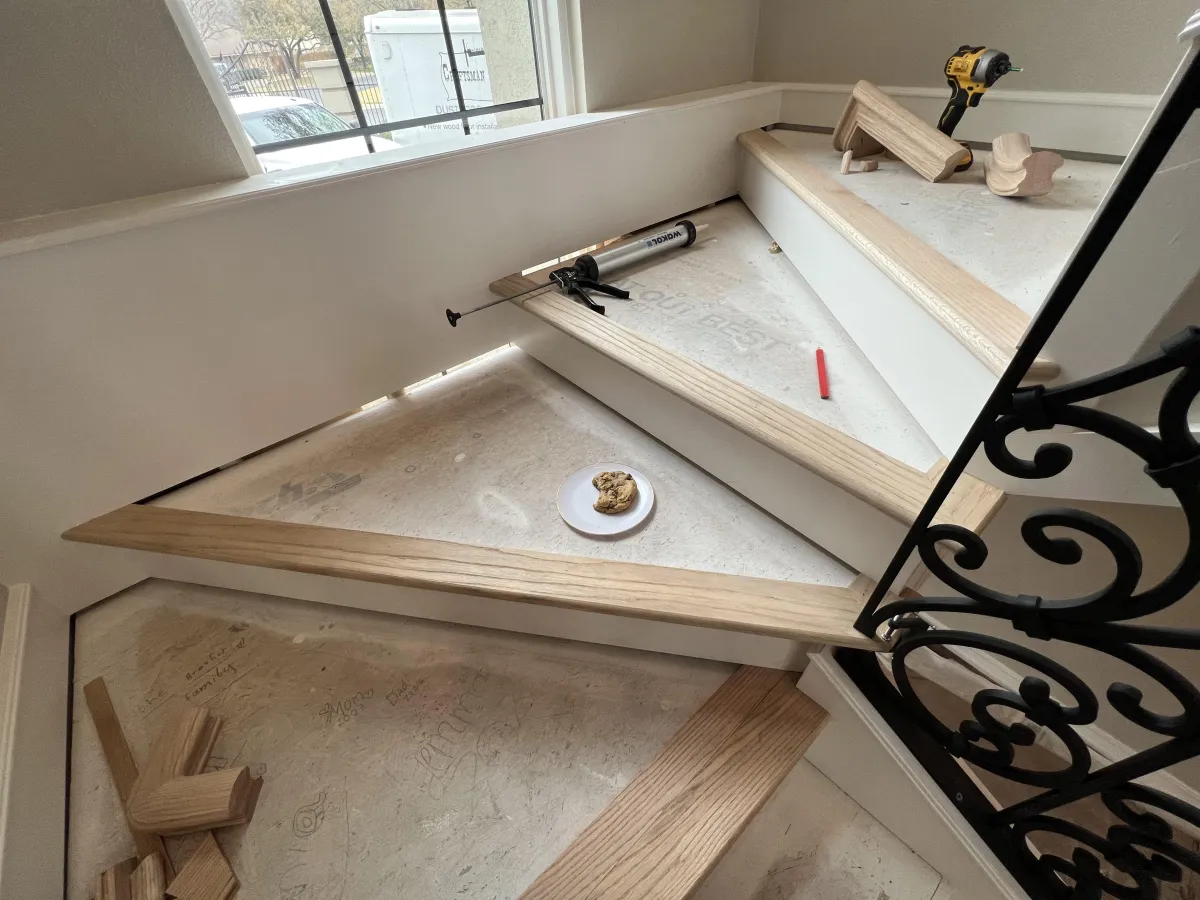
Trim Installation: After the hardwood planks are laid, it's time to install trim pieces such as baseboards or quarter-rounds. These trim pieces cover expansion gaps between the flooring and the walls and provide a seamless and finished look to the overall installation.
Staining and Sealing: Applying stain and sealant is essential to enhance the natural beauty of the hardwood surface and protect it from wear and tear. Staining adds depth and richness to the wood, while the sealant provides a protective layer that guards against moisture, stains, and scratches. This step improves the floor's aesthetics and prolongs its lifespan.
Final Inspection: Before considering the installation complete, it is crucial to inspect the entire floor thoroughly. Look for any imperfections, gaps, or areas that may need touch-ups. Addressing these issues promptly ensures that the finished floor meets the highest standards of quality and craftsmanship.
Maintenance Tips
Maintaining your hardwood floors is vital to preserving their beauty and longevity. Here are some maintenance tips to help you keep your floors in pristine condition:
Establish a regular cleaning routine: Sweep or vacuum your hardwood floors regularly to remove dirt and debris that can scratch the surface. Use a damp mop or cloth to wipe away spills promptly, but avoid using excessive water, as it can damage the wood.
Choose the right cleaning products: Select products specifically designed for hardwood floors and compatible with your floor's finish. Avoid harsh chemicals and abrasive cleaners, as they strip the finish away and damage the wood.
Consider your floor's finish: Different finishes require different cleaning techniques. For example, waxed floors should be cleaned with a solvent-based cleaner, while polyurethane-finished floors can be cleaned with a mild detergent and water.
DISCOVER
THE CRAFTSMAN DIFFERENCE
With award-winning third-generation craftsman, Matt Garcia.
FAQS
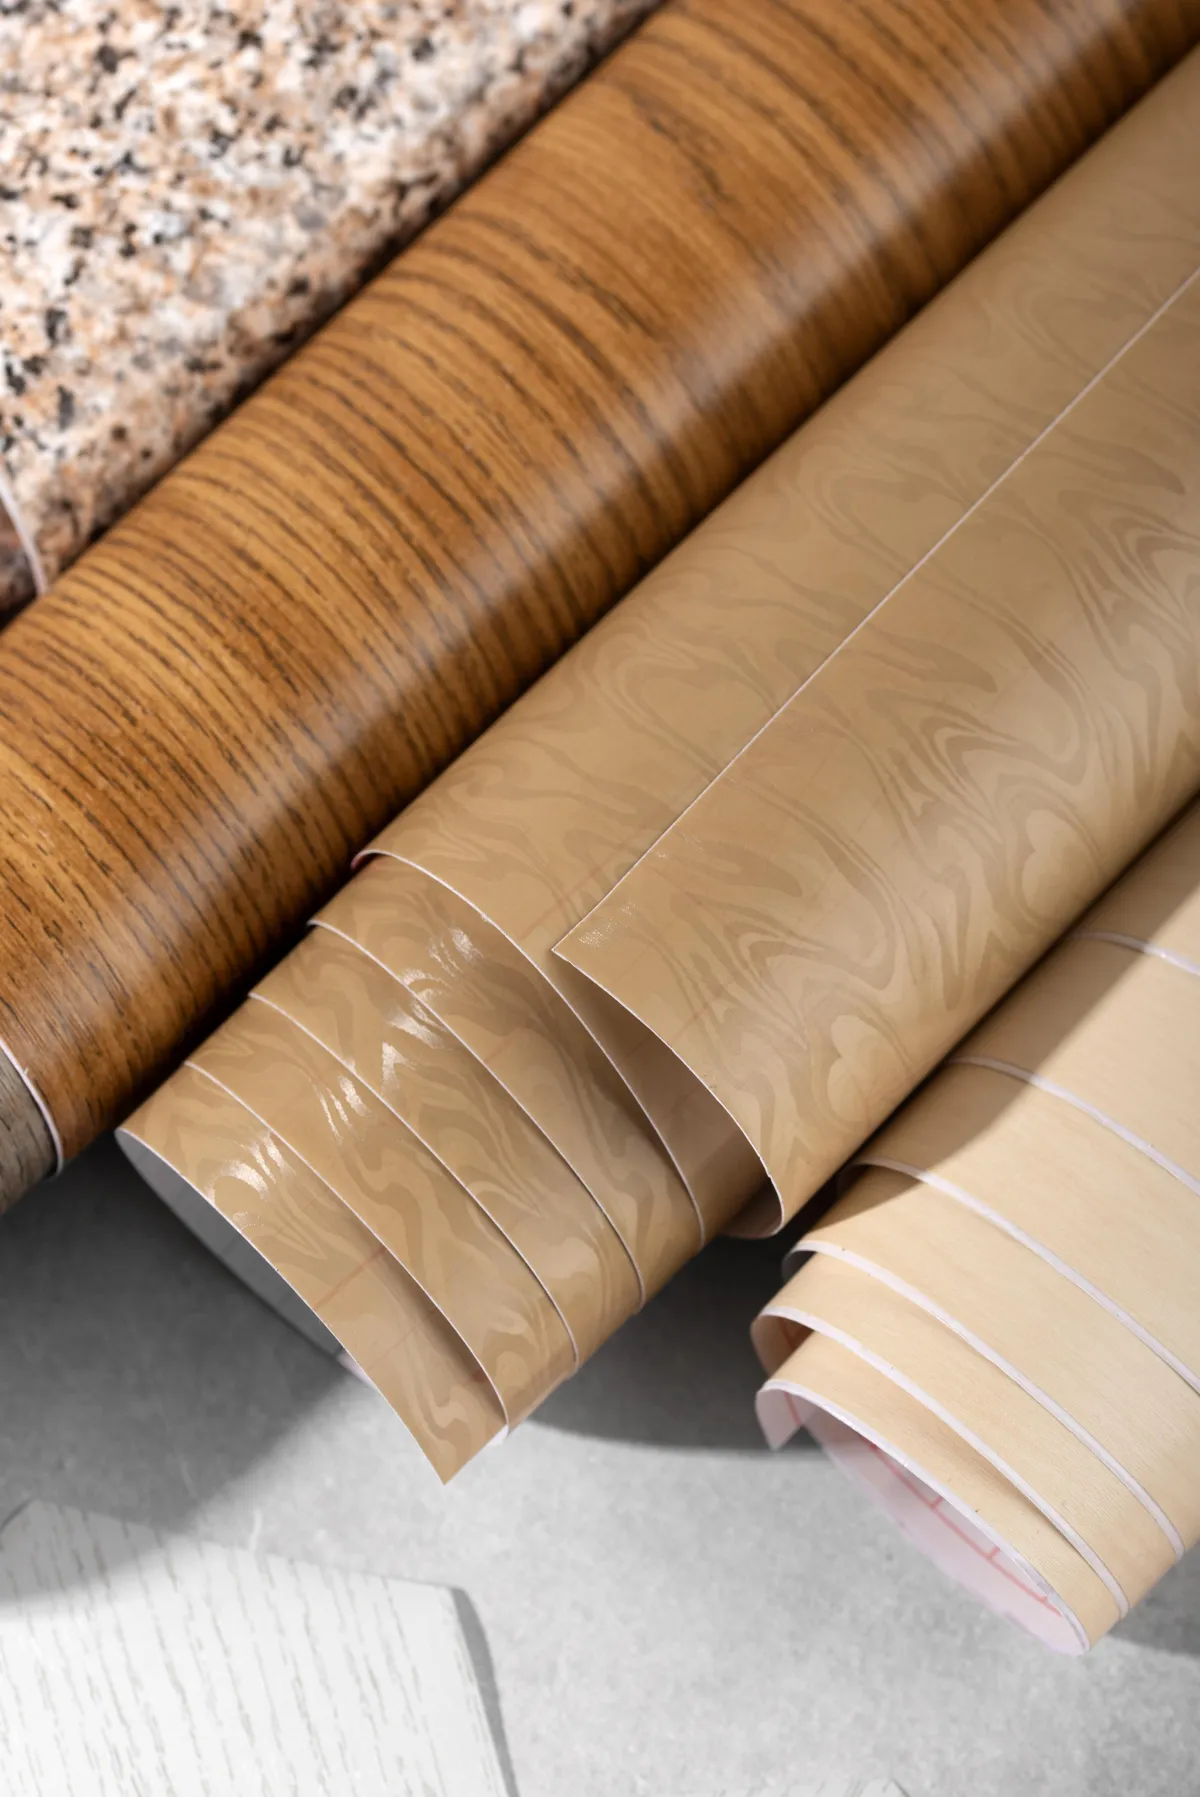
What is the difference between hardwood and engineered hardwood flooring?
Hardwood flooring is made from solid planks of wood. Engineered hardwood flooring is made with a plywood core and a thin veneer of hardwood on top. Hardwood flooring is more expensive than engineered hardwood flooring, but it is also more durable and can last for many years. Engineered hardwood flooring is less expensive than hardwood flooring, but it is not as durable and may need to be replaced sooner.
What is the best way to clean and maintain my carpet?
The best way to clean and maintain your carpet is to vacuum it regularly and have it professionally cleaned once a year. When vacuuming your carpet, be sure to use a vacuum cleaner with a beater bar to remove dirt and dust from the fibers. When having your carpet professionally cleaned, be sure to choose a reputable company that uses a cleaning method that is appropriate for your type of carpet.
What is the best way to protect my floors from water damage?
The best way to protect your floors from water damage is to avoid spills and leaks. If you do have a spill or leak, be sure to clean it up immediately. You can also protect your floors from water damage by placing mats and rugs in high-traffic areas and by sealing your floors regularly.
TRANSFORM YOUR HOME WITH A CLICK
Why wait for elegance? A free, personalized estimate from Craftsman Hardwood Flooring is just a click away. Join a growing community who have elevated their homes with our exquisite, award-winning flooring designs. Matt Garcia and his team are committed to bringing your vision to life with precision and passion.
Get Your No-Obligation, Free Estimate: Simply fill out our quick form, and we'll provide you with a personalized estimate that aligns with your unique needs and preferences.
See the Difference for Yourself: Browse our gallery of stunning installations and read real testimonials from our satisfied clients.
Let's Create Something Beautiful Together: Start your journey towards a home that truly reflects your style and sophistication. Request your estimate now and step into the world of Craftsman Hardwood Flooring!
Here at Craftsman Hardwood Flooring, we understand that your home is a reflection of your personal style and taste. That's why we offer top-quality hardwood flooring solutions designed to elevate the beauty and functionality of any space.
With our easy-to-use form, you can request a no-obligation, free estimate for your project. This personalized estimate will provide you with an accurate understanding of the costs involved in creating the perfect hardwood floors for your home.
But don't just take our word for it - see the difference for yourself by browsing through our gallery of stunning installations. These real-life examples showcase the exceptional craftsmanship and attention to detail that goes into every project we undertake.
Still not convinced? Take a look at what our satisfied clients have to say
Craftsman Hardwood Floors: Discover Quality and Elegance for Your Home
LOCATION
Craftsman Hardwood Floors
958 Arroyo St.
San Angelo, TX 76903
Main Office: (888) 841-8453
QUICK LINKS
COPYRIGHT © 2023
ALL RIGHTS RESERVED. // PRIVACY POLICY // TERMS AND CONDITIONS
Powered by Local Lead Connector